

How To Add Files To Uf Apps
In this guide, we will explain what .zip files are. We'll show you how to both open and create one on Windows and macOS. Follow the sections below to get started.
- What is a .zip file?
- How to open .zip files on Windows
- Create a .zip file on Windows
- How to open .zip files on macOS
- Create a .zip file on macOS
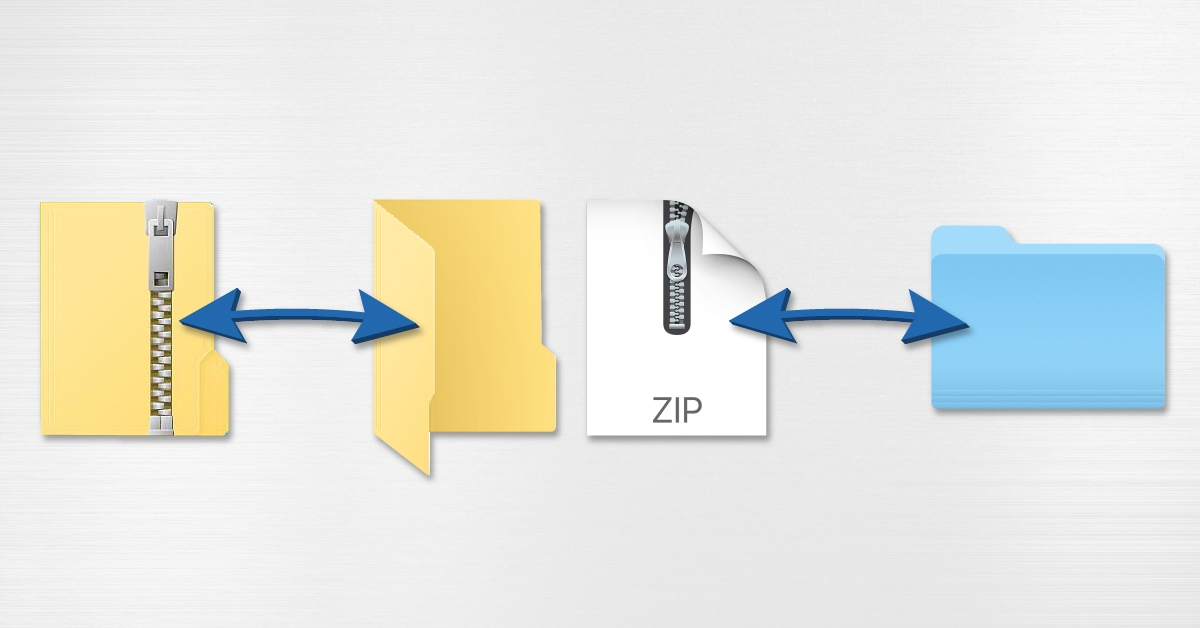
A .zip file is a compressed version of a larger file or folder. It's still the same file, just boxed up so that it takes up less space. Smaller files are easier to share via email and cloud storage (Google Drive, iCloud, Dropbox, etc.), so compressing something to a .zip is common in many settings. Software manufacturers often use .zip files to deliver their installers and updates to customers via direct download. Accessing what's in a .zip file is like getting a package: the shipment has arrived but you have to open the box and extract the contents.
- Installers (Windows & macOS)
- Applications (macOS)
- Email attachments
- Shared documents
Emails are limited to how much data you can attach to them. Folders can't be attached to an email, but .zip folders can. You may also need to compress a file into a .zip form to save space. When files are too large to email or text, consider using a cloud-based storage service like Google Drive, iCloud, or Dropbox. Once uploaded, you can share folders with the click of a button or share of a URL link.
It is not necessary to download a 3rd-party application to work with .zip files. However, a quick Google search for "ZIP files" does reveal some apps that are great if you need more features than what your operating system provides. That being said, these apps are not required to work with .zip files. Every recent Windows or Mac operating system is capable of working with .zip files without the help of any 3rd-party applications.
Working with .zip files on Windows and macOS is nearly the same. The only major difference is the location of where your extracted files appear. On Windows PC's, you're prompted to choose a specific location for the extracted (aka unzipped) files. Opening a .zip file on macOS automatically creates an uncompressed version next to the original file. Go to the Archive Utility settings if you want to change the location.
RETURN TO TOP ↑
Opening a .zip file on Windows is simple with the Extract All feature. When this happens the .zip file remains, and the contents are extracted in the same directory, or wherever you choose. You typically don't need to keep .zip files once they've been extracted, so delete them to recover the storage space.
Some installers are delivered as .zip files and must be uncompressed first. On Windows, you can access the files inside while they're still compressed. That might be alright for some purposes, but you should not run installer .exe files until they've first been extracted. Another good practice is to delete the .zip file after you've extracted the contents, as keeping both with just occupy storage space.
- Right-click the .zip folder and choose Extract All.
- Select the location where you want your extracted files to appear and click Extract. Extracting to the desktop make files easier to find but don't store them here permanently.
- Your extracted files will now appear on your desktop or in whatever location you chose in step two.
Creating a .zip file is a great way to condense one or more files or folders into a single one. The compressed .zip file is useful for email or sending multiple files in one package.
- Right-click the file/folder, choose Send to and then Compressed (zipped) folder.
- Locate your new .zip file in the same location as the original file or folder.
RETURN TO TOP ↑
Opening .zip files on a Mac couldn't be easier: just double-click the .zip file and the uncompressed contents will appear next to it. If you do this in a Finder window and don't immediately see the contents, try organizing by Name or Date Modified. The .zip versions are no longer needed once uncompressed and can be deleted to recover storage space.
The default built-in app for .zip files on macOS is the Archive Utility (Internal Hard Drive > System > Library > CoreServices). Open the utility to change the preferences for .zip files.
- Double click the .zip folder.
- Locate the new contents in the same location as the .zip folder.
Creating a .zip file is a great way to condense one or more files or folders into a single one. The compressed .zip file is useful for email or sending multiple files in one package.
- Right-click the file or folder and choose Compress.
- Locate your new .zip file in the same location as the original file or folder.
RETURN TO TOP ↑
When you need help, Sweetwater has the answers!
Our knowledge base contains over 28,000 expertly written tech articles that will give you answers and help you get the most out of your gear. Our pro musicians and gear experts update content daily to keep you informed and on your way. Best of all, it's totally FREE, and it's just another reason that you get more at Sweetwater.com.

How To Add Files To Uf Apps
Source: https://www.sweetwater.com/sweetcare/articles/how-to-zip-and-unzip-files/
Posted by: walkerwhoduch.blogspot.com
0 Response to "How To Add Files To Uf Apps"
Post a Comment